Cart
0

If you’re a soap-making enthusiast, and you’re likely familiar with the importance of a quality soap base. Zenseme, a trusted brand in the industry, offers a range of premium soap bases that provide an excellent foundation for creating exquisite handmade soaps. In this guide, we’ll walk you through the steps of Luxury Soap Crafting with Zenseme.
What Sets Zenseme Apart?
Zenseme is renowned for its high-quality, natural soap base options. Made with a blend of gentle ingredients, their products are free from harsh chemicals, suitable for sensitive skin, and ideal for those seeking natural soap for men or natural soap for women. Whether you’re making natural baby soap, natural antibacterial soap, or simply exploring the best natural soap options—Zenseme delivers.
Materials You’ll Need:
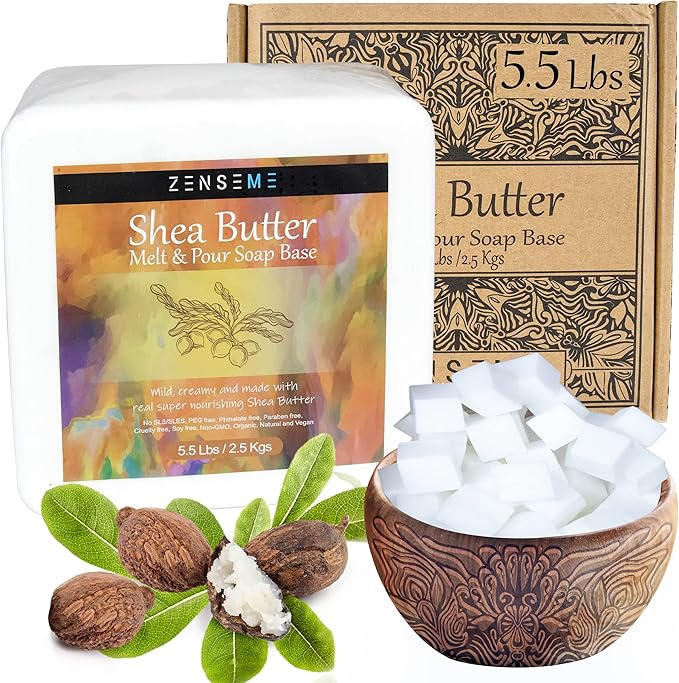
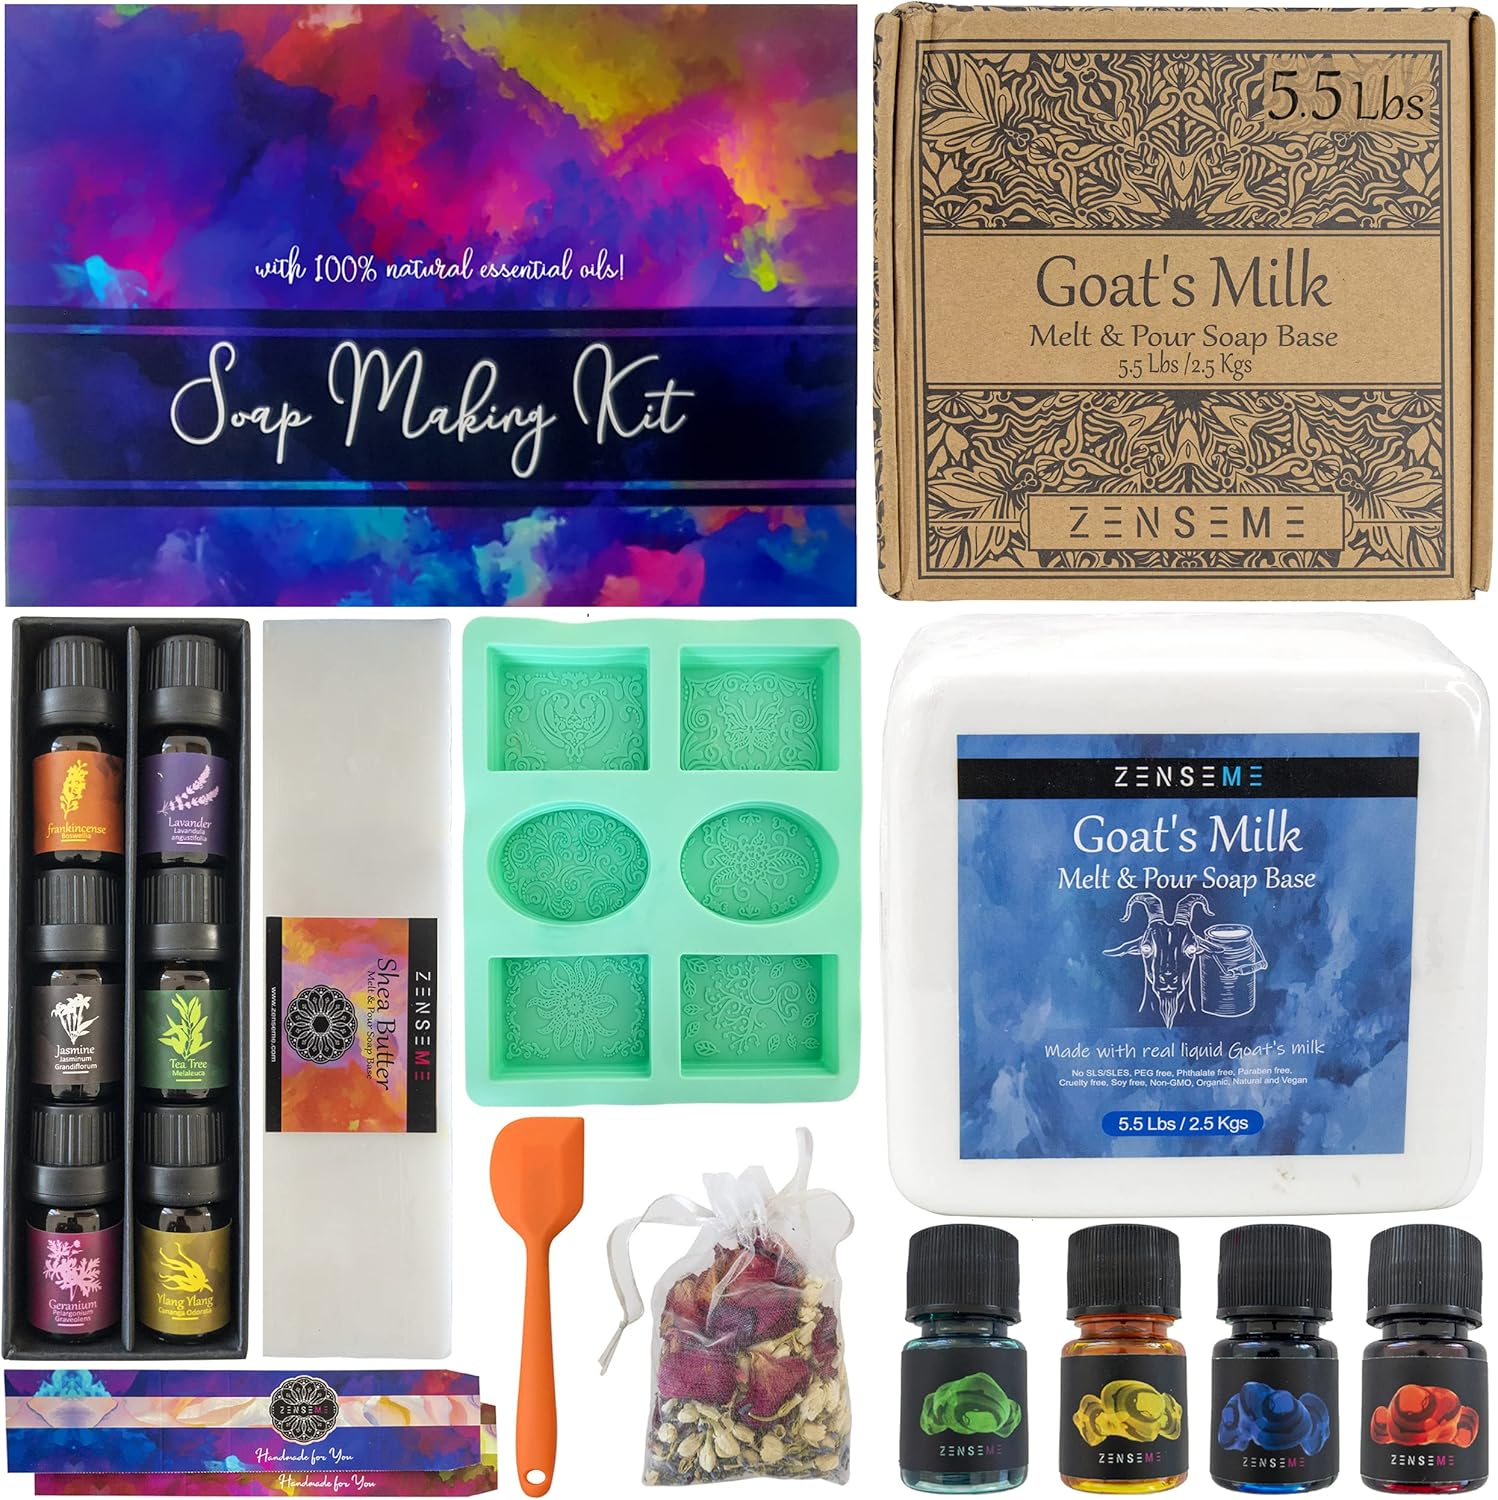
- Zenseme Soap Base: Choose from Zenseme’s selection of bases, such as their nourishing shea butter base or the gentle glycerin base, to match your desired soap characteristics.
- Fragrance Oils: Add scents like lavender or citrus. Great for making natural soap for eczema or natural men’s soap
- Colorants: Use natural soap colorants for a visually appealing bar. Consider turmeric, clays, or charcoal.
- Molds: Pick from classic or creative shapes to personalize your natural soap bars.
- Cutting Tools: Depending on the form of your soap base, you might need a knife or soap cutter.
Step-by-Step Guide for Luxury Soap Crafting with Zenseme:
1. Cut and Prepare the Soap Base:
Begin by cutting your Zenseme soap base into smaller, uniform pieces. This ensures even melting and makes the process more manageable.
2. Melt the Soap Base:
Method 1: Microwave Melting (As discussed in our previous blog)
3. Add Fragrance and Color:
Once your Zenseme soap base is fully melted, it’s time to infuse it with your chosen fragrance oils and colorants. Zenseme offers a diverse range of fragrance options, from invigorating citrus to calming lavender, allowing you to create a truly personalized scent profile.
4. Pour into Molds:
Carefully pour the fragranced and colored soap mixture into your chosen molds. This is where your creativity can truly shine. Experiment with different shapes and designs to achieve the look you envision.
5. Allow to Cool and Solidify:
Let your soap cool and solidify. This may take a few hours, depending on the size and thickness of your soap bars.
6. Demolding and Packaging:
Once your soap has completely cooled and solidified, gently pop it out of the molds. If you’re planning to sell or gift your handmade soaps, consider packaging them in eco-friendly and visually appealing materials to showcase the craftsmanship.
Soap Making Kit Option
If you're a beginner or looking to scale, try a complete natural soap making kit using Zenseme supplies. It’s perfect for DIYers or small natural soap businesses, with all essentials included.
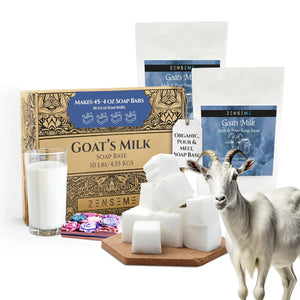
Crafting your own soap lets you control what goes on your skin. Zenseme's natural soap bases, free from artificial detergents and loaded with moisturizing elements, are the ideal choice whether you're making natural black soap, natural goat milk soap, or even all natural dishwashing soap.
Let your creativity shine and produce something that's both functional and beautiful. Whether for personal use, gifts, or a natural soap business, Zenseme helps you craft soap with confidence.