Cart
0
So, you’ve decided to embark on a natural soap making adventure. Whether you're crafting for fun or building a natural soap brand, learning how to melt soap is a must. This step by step guide will walk beginners through everything from choosing the right natural soap base to melting techniques.
What You’ll Need:
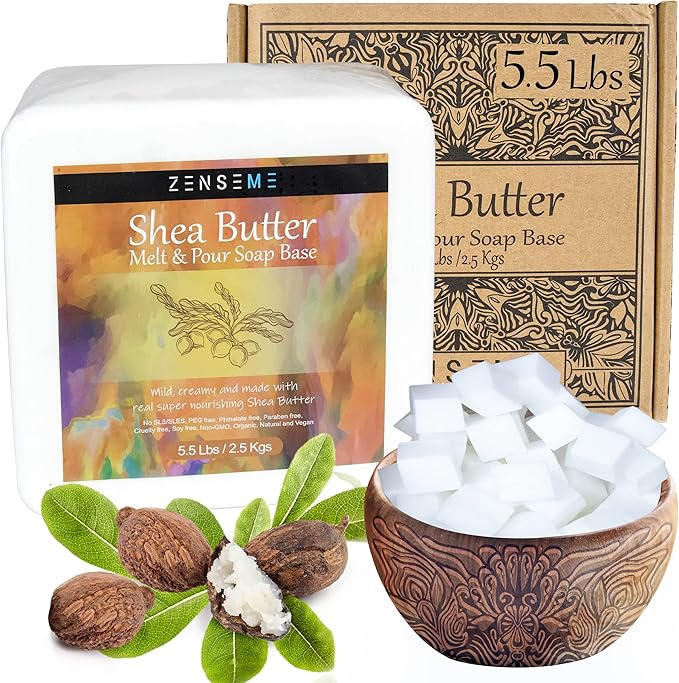
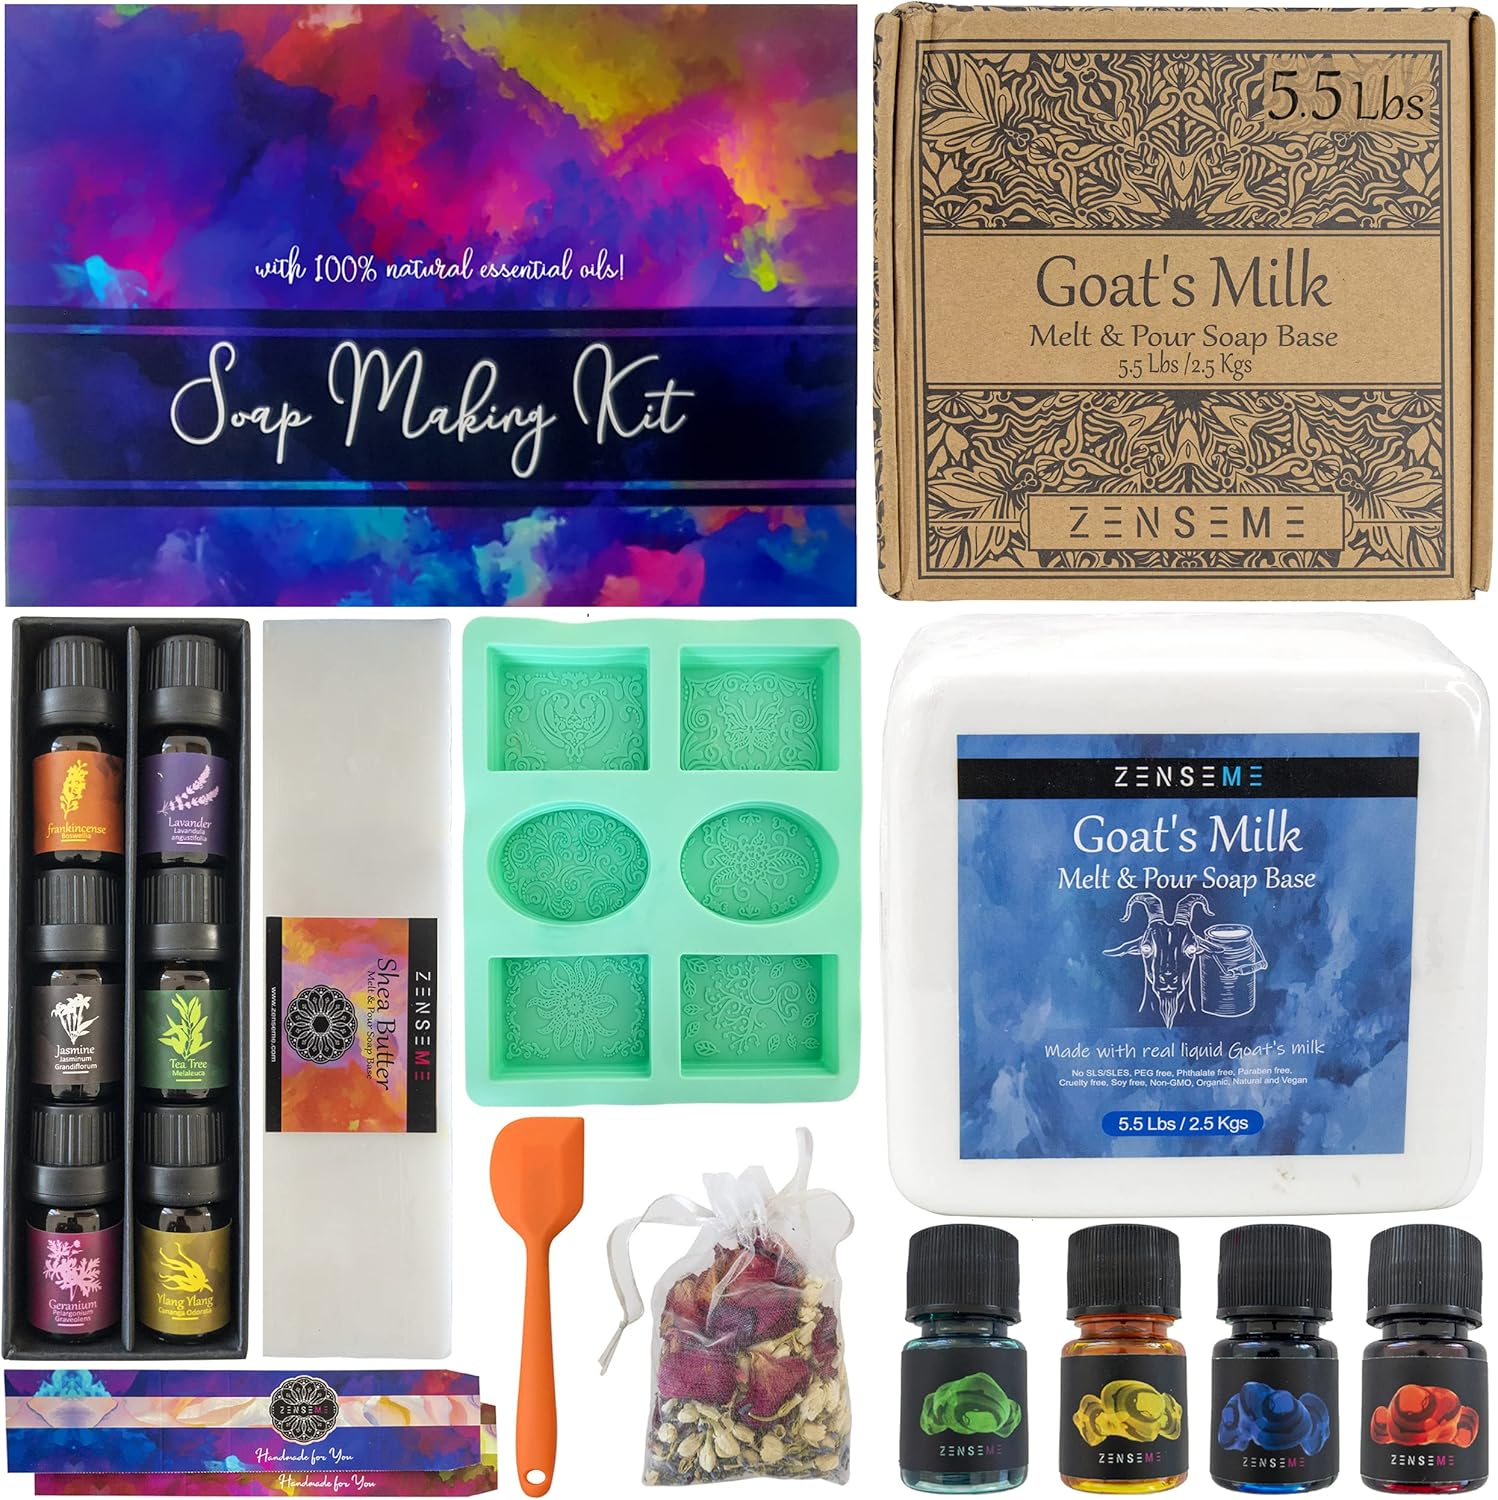
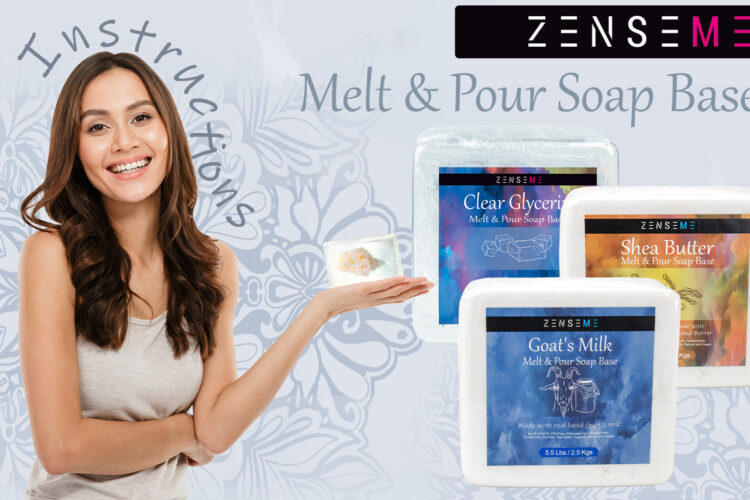
- Soap Base: This is the foundation of your soap. It comes in various types like glycerin, shea butter, and goat’s milk, each offering unique properties.
- Microwave or Double Boiler: Essential melting tools. Microwaves are faster, but double boilers are better for heat-sensitive natural ingredients.
- Cutting Tools: Use a soap cutter or knife, especially when working with natural bar soap blocks.
- Fragrance or Essential Oils: Ideal for natural soaps for women and natural soaps for men lavender, peppermint, eucalyptus, etc.
- Colorants: Choose natural soap colorants like turmeric, clays, or activated charcoal.
- Molds: Great for shaping your all-natural bar soap go from simple to decorative!
Step-by-Step Guide:
Method 1: Microwave Melting
- Cut the Soap Base: Chop your natural soap base into uniform pieces for even melting.
- Microwave-Safe Container: Use a safe bowl that won’t leach toxins—important for maintaining your organic soap purity.
- Microwave in Short Bursts: Set to 50% power. Heat in 30-second bursts, stirring each time to avoid overheating or bubbling.
- Stir Gently: Too much agitation can cause unwanted bubbles—common in glycerin soap.
- Add Fragrance and Color: Choose skin-safe essential oils and natural colorants. This step is key to creating perfectly natural soap.
- Pour into Molds: Pour carefully into your molds. Try seasonal shapes for gifting your natural soap bars.
- Demolding: Once hardened, gently remove your soap. Now you're holding your very own homemade natural soap!
Method 2: Double Boiler Melting
- Water in the Bottom Pot: Fill the bottom part of your double boiler with water. Make sure it’s not too full to avoid splashing.
- Place Soap in the Top Pot: Put your soap chunks in the top pot of the double boiler.
- Heat Gently: Steam will evenly melt the soap—ideal for sensitive ingredients in natural antibacterial soap or baby soap.
- Stir Occasionally: Keep the soap smooth while preserving the integrity of natural additives.
- Add Fragrance and Color: Once fully melted, remove from heat and add fragrance and color.
- Pour into Molds: Follow the same steps as in the microwave method.
- Demolding: Follow the same steps to finish crafting your best natural bar soap.
Tips and Tricks for Melting Soap
- Be Patient: Overheating can ruin your soap's texture, especially with delicate bases like natural castile soap.
- Experiment: Test different natural soap recipes, oils, and designs.
- Safety First: Always use gloves and tools while handling hot soap to prevent burns.
Final Thoughts
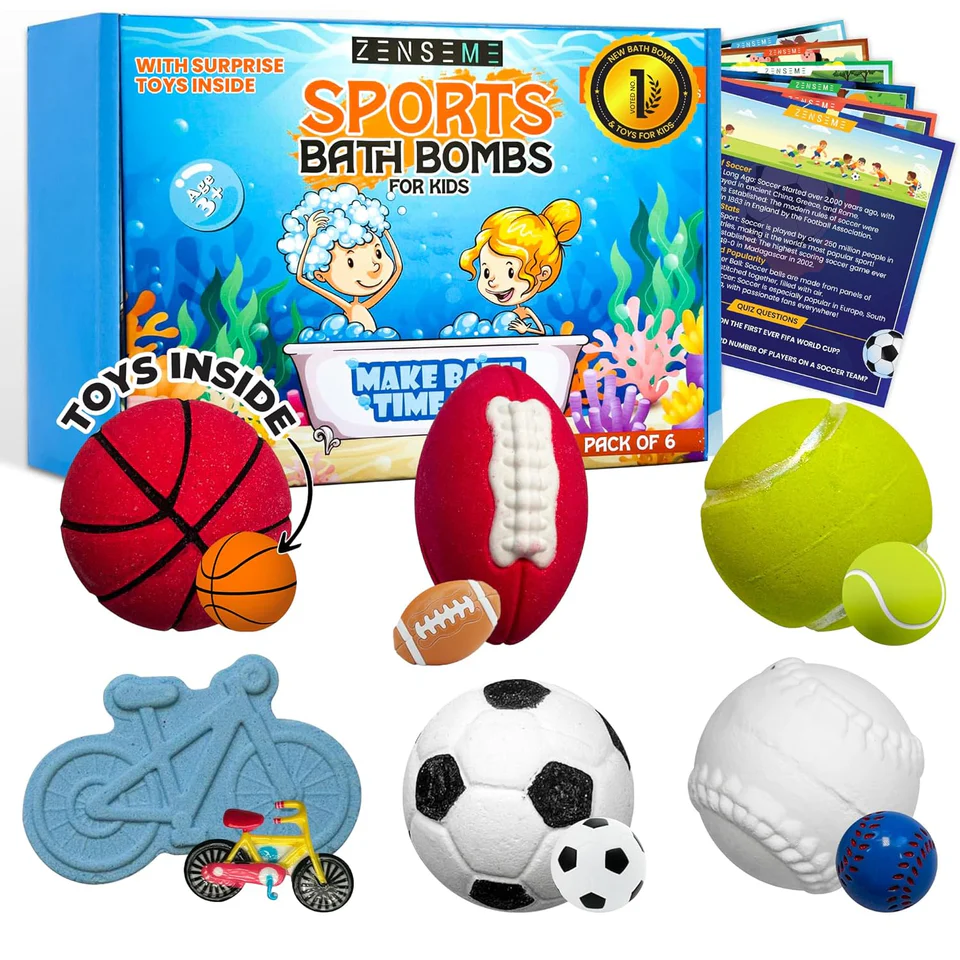
Melting soap is the foundation of creating all-natural soap at home. Whether you’re planning to make natural dish soap, laundry soap, or natural soaps for eczema, mastering these techniques will help you scale your skills. Plus, it's a great way to teach kids about safe crafting—pair it with bath toys for a fun session!
For quality supplies, try ZENSEME’s range of soap making supplies, perfect for both hobbyists and entrepreneurs.